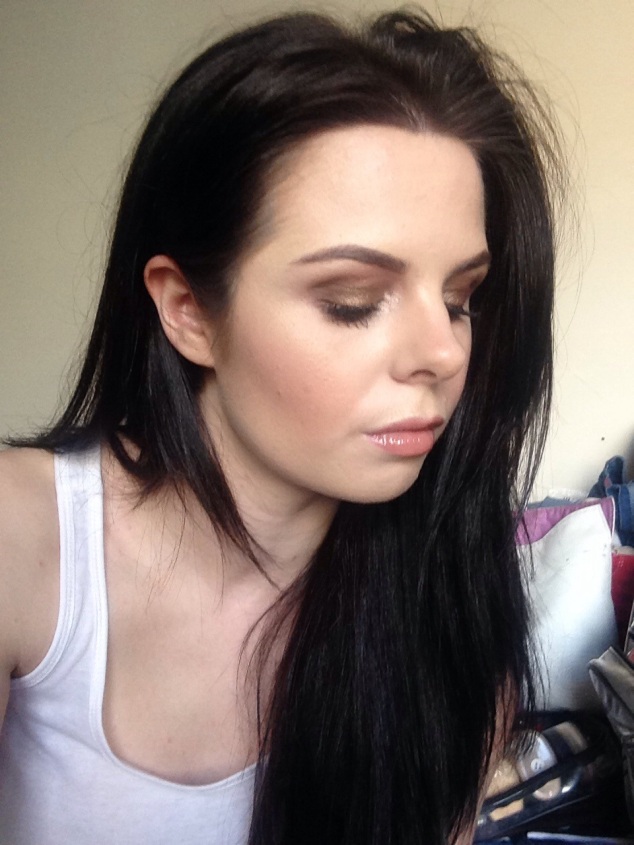
Hey everyone! Right about now my face has finally shifted from Quasimodo but sadly on to David Coultard. For those of you that didn’t know, I had my wisdom teeth removed on Monday. I’ve said it before but, I had so many people wishing me luck and a speedy recovery so, thank you again. To keep me from going around the twist I came up with heaps of things to keep me occupied which didn’t include taking pictures of my face! But honestly this is the first time I’ve felt like looking at a computer screen!! Fasting for 24 hours and having mouth surgery to remove significant teeth in chewing means it’s difficult to eat. Mix that with a load of medication and it leaves one a but out of sorts. However I am currently clutching my first cup of tea in 4 days… So I must be better!
But enough about me. As we move from season to season I love the transition of matte to dewy foundation! And I love a dewy foundation, Chanel vitalumiere was one of my all time favourites to use on customers, but on me foundations ALWAYS tend to go really shiny. Until now…
I first came across this foundation using it on a customer as her own foundation. Le teint touché éclat foundation from YSL gives a gorgeous dewy finish to the skin and wears really well, leaving a healthy glow all day. I tried this with a foundation brush and have to say I actually got a better finish using my fingers. It doesn’t have the same wet texture that other dewy foundations have which makes it lovely to use with just fingers. I still use a light dusting of powder to set my nose as this is what goes shiny first. I’ve been using shade B10 obviously the palest… But be warned I found this foundation darkened as it settled into the skin so if you do give this foundation a thought try before you buy!
But for those of you who are matte matte matte powder powder powder!! I have also discovered this…
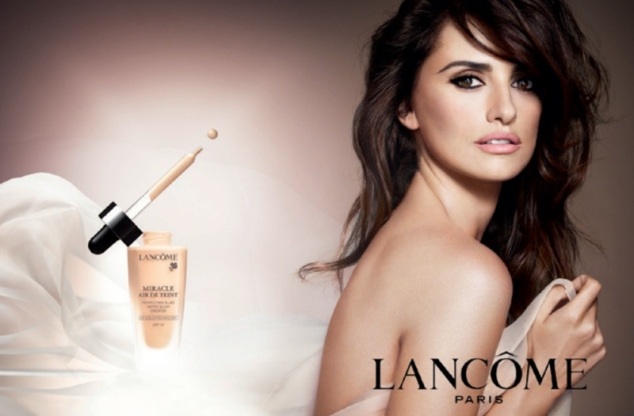
I have never felt a texture like this before in my life! And as much as, when it came to foundations, the dewy side had me hooked this brought me crawling back to the matte side!! It literally feels like as it says “air”. The completely weightless liquid foundation immediately dries to a matte finish leaving a completely invisible flawless finish. Lancome have really came up trumps with this little beauty and let’s face it, anything that could have me looking like Penelope Cruz jumps straight into my make up bag!
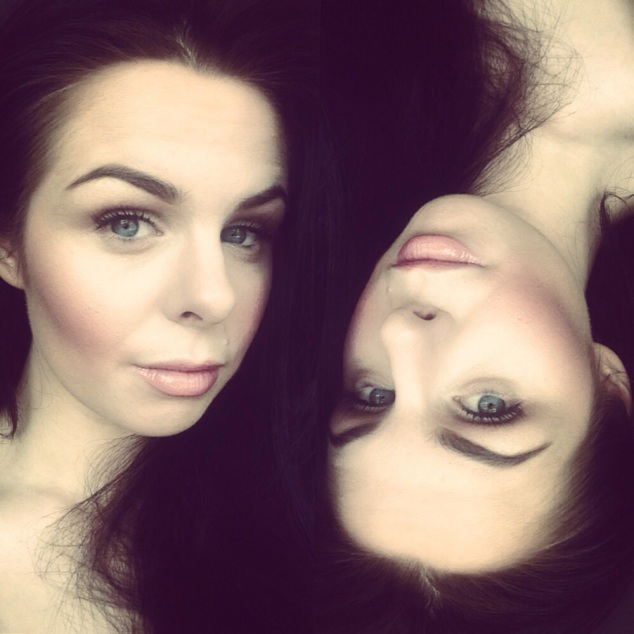
I have been on a little bit of a foundation frenzy and I stopped myself from purchasing this next little beauty so I was super chuffed when another MUA sister ,Chloe, purchased it and kindly told me all about it! The Make Up Forever HD foundation is huge in America at the moment and is a keen favourite in the likes of Kim Kardashian’s make up artist Mario’s make up kit. I’ve always been drawn in by its apparently flawless, full “HD” coverage. The highly talented Chloe has kindly allowed me to link her Facebook page so you can all have a read of what she thought on it. (Of which it is well worth.. I now also want this foundation… See face below… Why wouldn’t you??)
http://facebook.com/ChloeMarieMUA
Whether you’re a matte or a dewy, full coverage or natural a good foundation is something you should spend your money on. Cheap lipglosses and eyeshadows will always do the job but there is nothing better than having healthy skin and I do believe this is where spending a bit more money comes in to play. People always ask my the What’s,Where and Whys of buying foundations and I would always say…
What; buy a foundation that matches your skin type. If your skin tends to have drier tendencies choose something with a dewy hydrating finish which will boost radiance and not stick to any drier areas. If you are more shiny stick to more variable matte coverages and finishes. Always remember though that heavier foundations can sometimes show up uneven skin more than a natural coverage… Concelear will be your saviour here!
Where; do your research! There are so many blogs you can troll through giving you amazing tips depending on your budget. Always sit down and trial the foundation with the consultant or if you are uncomfortable with this ask for a sample. Your foundation will darken and change in outside lights so it’s best to get a feel for it all over before you buy (you are visualising your drawer full of foundations right!) especially when purchasing something a bit more on the expensive side.
Why; test multiple colours. Foundations have different tones and seeing them next to each other can be helpful in eliminating what doesn’t match your skin. Consultants are trained to match skin tones and here is where I’m their worst customer. I prefer a more yellow based foundation to give me warmth because I am as pale as. So testing out the different shades will let you see what I mean by pink or yellow based. Try them in areas that have no interference to your natural colour such as in the inner arm and under the ear on your neck.
I always hope my blogs help in making your shopping trips less traumatic! And I’m always open to hearing suggestions if there are particular things you want to know. As always give the Facebook (StephMArtistry) I didn’t realise how tantalisingly close I am to 800 linkers which is beyond awesome! You can also follow @stephmartistry on twitter an Instagram for somemore rambling, BTS, selfies and all around MUA banter.
Until next time ciao! x

