Holiday make up bags and blues…

Hello all! Once again I’ve been lacking on this bit… I had planned to write a few on holiday next to the pool 😊 but that didn’t happen!

I’m always apologising for not keeping up with blogs and before I get stuck into the real blog, I thought I’d give you an insight to “behind the scenes” of my profession. Regular things I have to do on a daily basis. People see the pretty pictures of the aftermath of my job but not everything leading up to it.

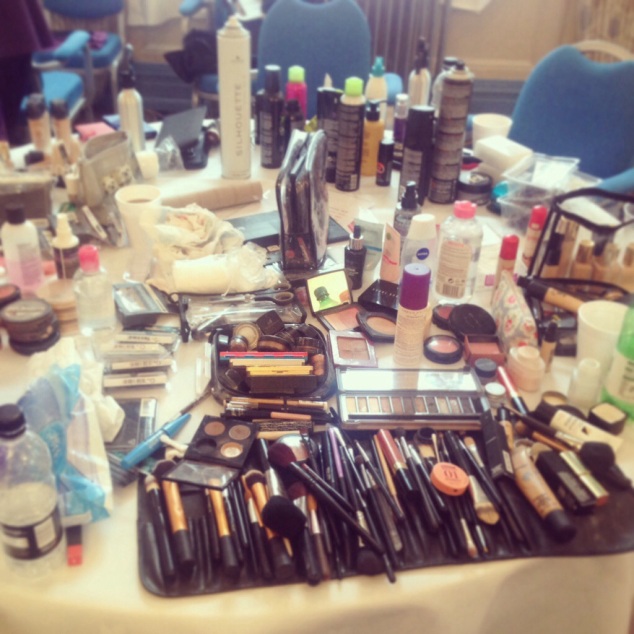
So for example I came home last week to a mountain of emails, all of which have to be replied to… And then when they reply, I reply again and so on and so forth, you get the picture. All of these inquiries are usually replied to with a brochure depending on what aspect of my job they have inquired about. Then if all goes well and things are booked, deposits need to be invoiced and all information has to be noted and trials booked. So one email conversation with a potential bride can take a whole day. Try doing the likes of 5 at the same time! When I’m working I’m not exactly the tidiest (ask my mum) so my kit constantly needs cleaned, especially my brushes which are cleaned with instant spray inbetween clients but are bathed with a gentle shampoo after each working day. (This is mostly for hygiene but I also find the instant spray doesn’t clean as well and the brushes become greasy and clogged.) I have between 50-70 brushes… 😳. I also don’t always take everything with me (I have boxes and boxes of make up under my bed… I don’t think brides would appreciate prosthetic skin and fake blood) so my kits have to be swapped around, making sure I have the adequate tools for the job at hand. I update my social media every day. So this takes time to plan some of the things I want to put up and share with you guys, planning blogs, doing my make up, new items I have purchased etc. I have all my paperwork to keep up with. Invoices, expenses. Constantly keeping up to date with my online portfolio and website. Ordering all my “bits”….. You wouldn’t believe how many cotton bud, wipes and lashes I go through! After every trial I also face chart everything and this can take a really long time to do a whole wedding party if it’s 6 people. I also do a lot of recon.. like watching other artists on YouTube, I find this teaches me new techniques. Gives me things to try and keeps me fresh at my job. I like to constantly keep my mind interested. Finding images that inspire me that I can work on for my next shoot.

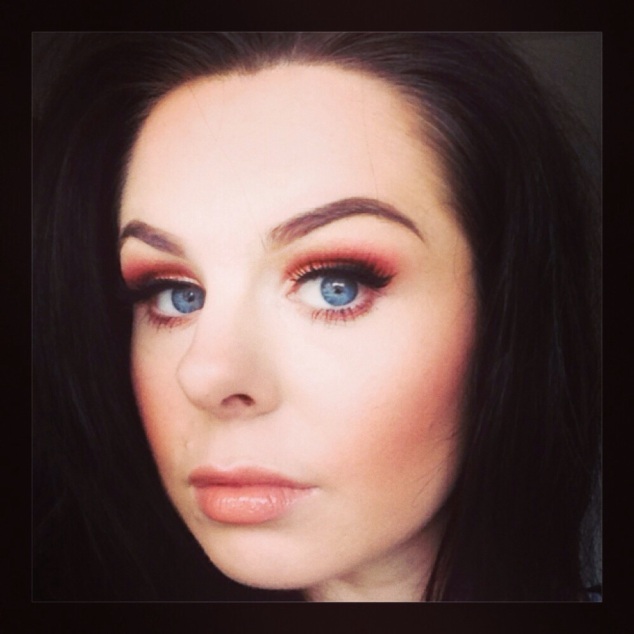
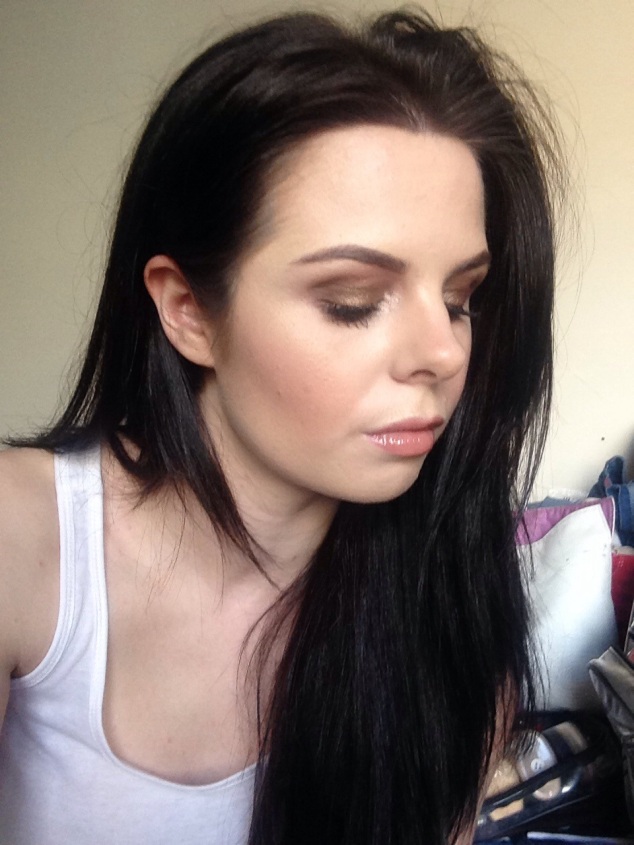
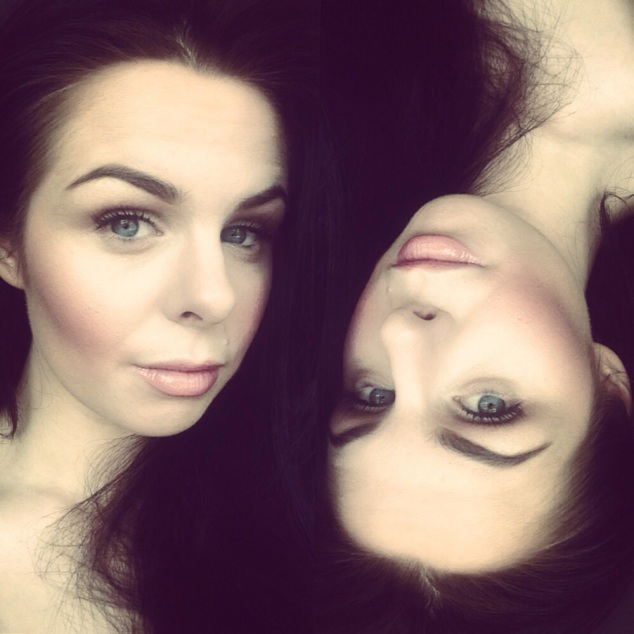
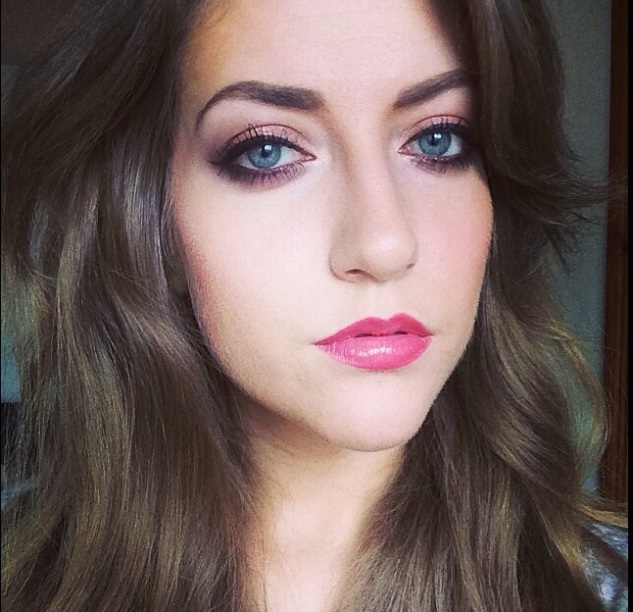
Even a simple selfie can take up a bit of time…. And on top of all of this I can sometimes do anything between 5 (rare) and 15 (more likely) make ups in a weekend, all the travel involved and I won’t even go into how long it takes me to do my make up… All these things I do in a week… But I wouldn’t change my job for the world. My professional Facebook page has just hit 900 likes and it’s moments like these that put all of this at the back of my mind. However… It does make me appreciate a holiday!

So.. I just got back from Ibiza! I did nothing but lie next to the pool, eat, drink, read and soak up the sun. It was bliss.. I actually locked my phone in the safe and didn’t even look at it! And I know it will be all of your turn soon so I thought you might like a few pointers and see what was in my holiday make up bag!?

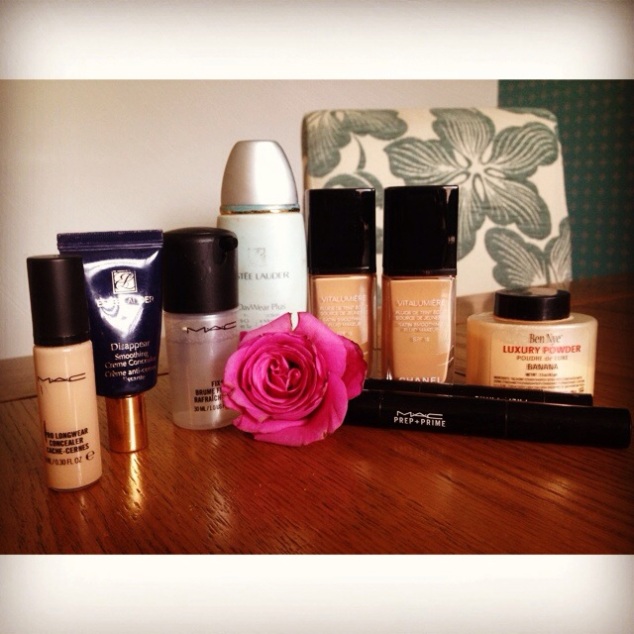
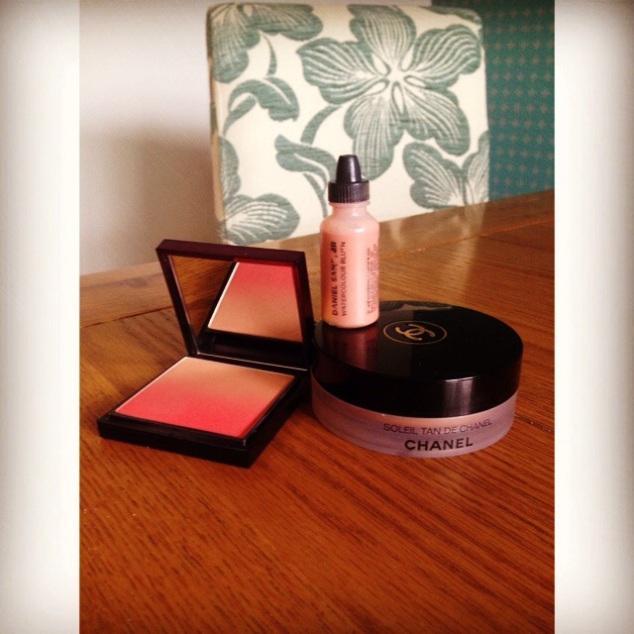
I have a few holy grail make up items I take with me on holiday. One of them being the Estée Lauder day wear sheer tint. This little lovely is great for poolside, I’ve spoken about it before but it gives you a gorgeous hint of colour without being too heavy to sit in the sun by the pool. I could never be without my bronze universal on holiday. I take a lot of cream products with me as I find powder products can be really obvious in bright sunlight and appear cakey. I always take vitalumiere with me on holiday. I love the healthy shine it gives my skin (however if it’s humid I prefer double wear/double wear light… That little babies don’t budge). And a new little gem that has planted itself in my kit is the Daniel Sandler watercolour blush. I recently discovered these and there was no doubt in my mind this little gem was coming on holiday with me. I took shade “chic” a gorgeous rose gold bronze colour, perfect for that healthy bronzed look. And did I mention it’s waterproof?? And of course my Ben Nye banana powder and trusty MAC mini fix spray to set it all in place! Heat smudged make up be gone!

20140630-130842-47322052.jpg

20140630-130938-47378057.jpg

When I’m on holiday, I don’t tend to wear much make up on my eyes. I always have a few sets of lashes and ALWAYS my eye lash curlers as I don’t like masacara at the best of times, but eye make up is always on the minimum. However this year I had just got my hands on the new Sharon Osborne collection for MAC and I couldn’t resist.. I do have another blog coming on this so more info on that later.

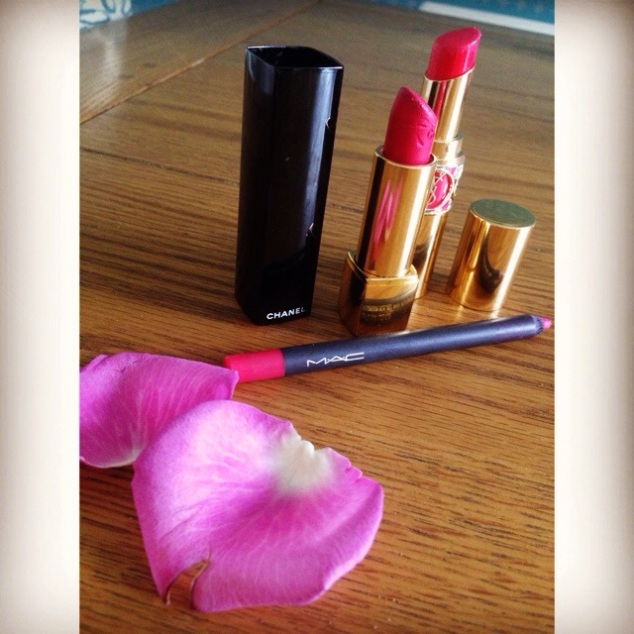
I do ALWAYS have new bright lipsticks… For me that’s a staple to any holiday make up bag! My wee favourites that came with me this year were Dynamo lip liner by Mac, Chanel Rouge Allure Matte in number 46 (I promise I didn’t just buy it for the number… It was fate!) and YSL rouge volupté shine in number 12.

20140630-131039-47439226.jpg

It really is difficult trying to keep make up on in the sun, if you want things to stay on ideally you would go for matte but personally thick textures just do not go down well in the sun so here are my tips for any one else out there that’s mad like me and has a full face the whole holiday!

1. Wear light layers to buildup a full make up rather than one thick layer.

2. When you have a tan try not wearing foundation but lighter sheer tints, BB creams and cream bronzers.

3. A good concealer… But that’s a top tip for any make up!!

4. Cream not powder. (Loose powder doesn’t count 😊)

5. Wear bright warm colours, the sun will compliment them!

6. Use a fix spray! Use a generous amount of powder, allow to soak in to the skin for a good couple of minutes and then a good couple of sprays of your fixing spray. Urban decay “all nighter” spray also comes highly recommended.

I know I’ve just come home but I’m so jealous if you’re going away! (112 days until Malaysia!!!!) Wherever you go be safe and have fun!

Ciao for now.

Let’s colour!!!

Hello all! Skirting out on my blogging duties again I’m afraid! But I suppose it just means that each time I do it means a much bigger, fatter blog as an apology!

And today’s is no exception! We’ve gone through the soft pastels of spring and now summer’s trend has explosions of colour all over your face!! The market is absolutely full of new and bright products from the top to toe, so whether you like your colour a little more understated on your nails or bold on your eyes and lips there’s something out there for everyone!

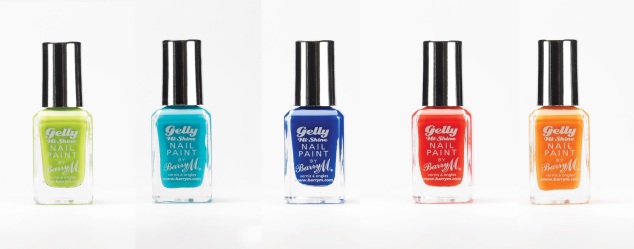
If you do like something a little more on the delicate side, try painting your nails with a bright jazzy colour. Painting your nails can be such an expressive way of having a bit of colour or even clashing with what you are wearing without it being as obvious. And good old Barry M is here to help! They’ve taken out a new range of “gelly” nail polishes. Designed to give you a gel polish high shine finish and colour. And with a massive 27 shades you’ll be spoiled for choice! Personal favourites are number 18 a hot orange and 15 a deep teale!

20140508-115854.jpg

And if you’re felling a bit bolder here’s a recent discovery of mine…

20140508-115949.jpg

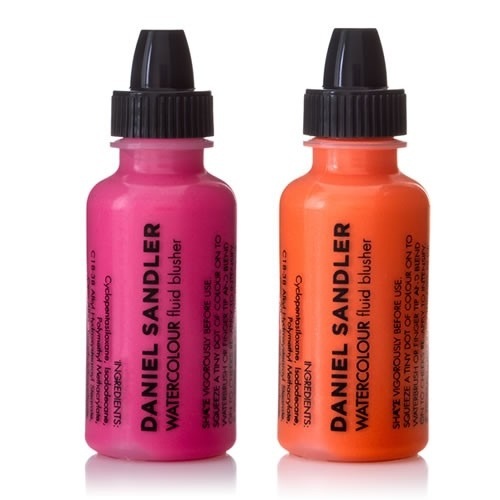
Daniel Sandler’s watercolour blushers. I purchased a couple in more wearable colours (Chic and Mayfair) and they are just gorgeous. Really pigmented and easily buffed into the skin they give the cheeks a radiant glow rather than some powdery blushers. These bright beauties “Acid” and “Trip” look radioactive but are actually a little bit more delicate in and on the flesh.

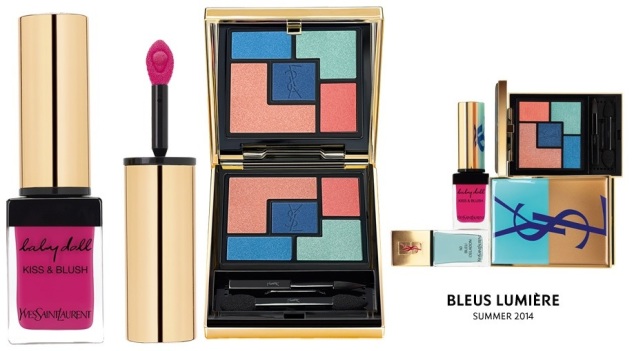
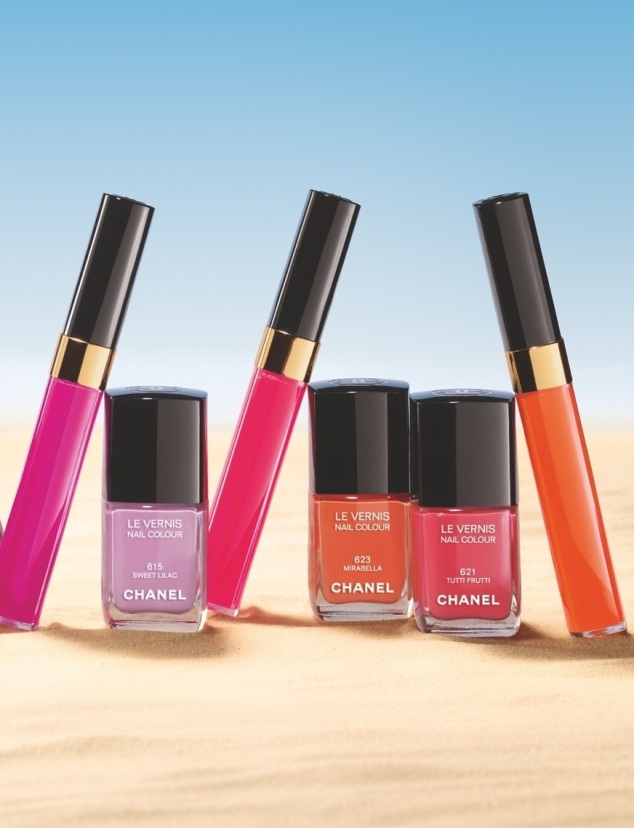
Most summer collections will usually have the odd pink and turquoise and I find are so samie! This years collections have certainly gone a little bit more radio active too. 2 of my favourite on counter collections have to be YSL les blues lumiere and Chanel Reflets d’ete de Chanel. (Biased I know!)

These collections have just blown me away between the eye palette from YSL which is packed full of cool, rich blues and hot oranges (which by the way are just the most amazing clashing colour combination.. Promise! You won’t look like an Irn-Bru can!)

20140508-121019.jpg

And Chanel’s nail and lip combination…. There moto for the collection is “mix.match.mismatch” and I can see why! Those with slight OCD would want to match…

Sweet lilac and Hello… It does as it says on the tin! a sugary lilac combination.
Tutti fruitti and Sexy… A jazzy coral .
Pink tonic and Happy… A vibrant hot pink.
Mirabella amd sunny… A blood red orange.

Or those of you who like to mix it up…

20140508-121500.jpg

Or if you’re like me and can’t choose… I be wearing it ALL!!!

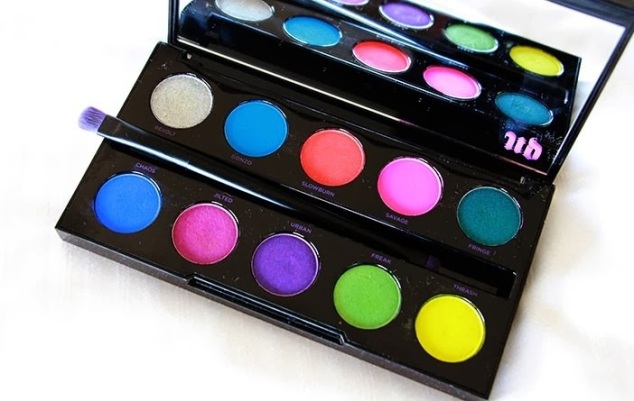
And last, brightest but certainly not least you have the holy explosion of radioactive colour which is the urban decay electric palette!!

20140508-121745.jpg

This palette has taken the market and every MUA by storm! It’s chock full of 10 vibrant velvety shades that have massive pay off! My Instagram feed is full of make up enthusiast using this palette and I don’t think I’ve seen the same combination twice.

One of my favourite beauty bloggers did a tutorial actually using this palette and a few other things on this blog which I have linked as it’s useful to see. Colour is so hot (pardon the pun) right now and it’s so worth playing around and finding what you are comfortable with. I have always said there are no rights and wrongs when it comes to make up as it should be fun. However there are how to’s and not to’s so that’s why watching tutorials can keep you in check when it comes to colour. More coco cabana than coco the clown!

http://m.youtube.com/watch?v=Sls_8FLq4iU

So have a watch of the tutorial… Sorry it’s not my own… We have workmen in at the moment so it’s not the most ideal background noise! But the gorgeous Sam from Pixiwoo will take more than good care of you. However I did dable in the colour department as it’s not usually my thing… And I must say I could be converted! As always thanks for reading! Happy spending. Always let me know if you do purchase anything I’ve mentioned, I love knowing its useful!

20140508-123053.jpg

Ciao for now! x

Building a good foundation…

Hey everyone! Right about now my face has finally shifted from Quasimodo but sadly on to David Coultard. For those of you that didn’t know, I had my wisdom teeth removed on Monday. I’ve said it before but, I had so many people wishing me luck and a speedy recovery so, thank you again. To keep me from going around the twist I came up with heaps of things to keep me occupied which didn’t include taking pictures of my face! But honestly this is the first time I’ve felt like looking at a computer screen!! Fasting for 24 hours and having mouth surgery to remove significant teeth in chewing means it’s difficult to eat. Mix that with a load of medication and it leaves one a but out of sorts. However I am currently clutching my first cup of tea in 4 days… So I must be better!

But enough about me. As we move from season to season I love the transition of matte to dewy foundation! And I love a dewy foundation, Chanel vitalumiere was one of my all time favourites to use on customers, but on me foundations ALWAYS tend to go really shiny. Until now…

I first came across this foundation using it on a customer as her own foundation. Le teint touché éclat foundation from YSL gives a gorgeous dewy finish to the skin and wears really well, leaving a healthy glow all day. I tried this with a foundation brush and have to say I actually got a better finish using my fingers. It doesn’t have the same wet texture that other dewy foundations have which makes it lovely to use with just fingers. I still use a light dusting of powder to set my nose as this is what goes shiny first. I’ve been using shade B10 obviously the palest… But be warned I found this foundation darkened as it settled into the skin so if you do give this foundation a thought try before you buy!

20140417-083914.jpg

But for those of you who are matte matte matte powder powder powder!! I have also discovered this…

20140417-081412.jpg

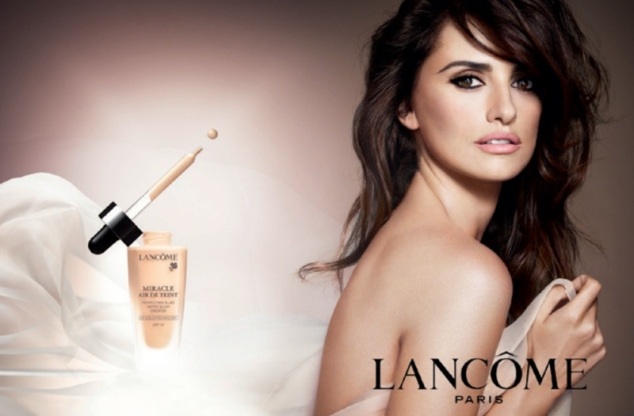
I have never felt a texture like this before in my life! And as much as, when it came to foundations, the dewy side had me hooked this brought me crawling back to the matte side!! It literally feels like as it says “air”. The completely weightless liquid foundation immediately dries to a matte finish leaving a completely invisible flawless finish. Lancome have really came up trumps with this little beauty and let’s face it, anything that could have me looking like Penelope Cruz jumps straight into my make up bag!

20140417-083454.jpg

I have been on a little bit of a foundation frenzy and I stopped myself from purchasing this next little beauty so I was super chuffed when another MUA sister ,Chloe, purchased it and kindly told me all about it! The Make Up Forever HD foundation is huge in America at the moment and is a keen favourite in the likes of Kim Kardashian’s make up artist Mario’s make up kit. I’ve always been drawn in by its apparently flawless, full “HD” coverage. The highly talented Chloe has kindly allowed me to link her Facebook page so you can all have a read of what she thought on it. (Of which it is well worth.. I now also want this foundation… See face below… Why wouldn’t you??)

20140417-083356.jpg

http://facebook.com/ChloeMarieMUA

Whether you’re a matte or a dewy, full coverage or natural a good foundation is something you should spend your money on. Cheap lipglosses and eyeshadows will always do the job but there is nothing better than having healthy skin and I do believe this is where spending a bit more money comes in to play. People always ask my the What’s,Where and Whys of buying foundations and I would always say…

What; buy a foundation that matches your skin type. If your skin tends to have drier tendencies choose something with a dewy hydrating finish which will boost radiance and not stick to any drier areas. If you are more shiny stick to more variable matte coverages and finishes. Always remember though that heavier foundations can sometimes show up uneven skin more than a natural coverage… Concelear will be your saviour here!

Where; do your research! There are so many blogs you can troll through giving you amazing tips depending on your budget. Always sit down and trial the foundation with the consultant or if you are uncomfortable with this ask for a sample. Your foundation will darken and change in outside lights so it’s best to get a feel for it all over before you buy (you are visualising your drawer full of foundations right!) especially when purchasing something a bit more on the expensive side.

Why; test multiple colours. Foundations have different tones and seeing them next to each other can be helpful in eliminating what doesn’t match your skin. Consultants are trained to match skin tones and here is where I’m their worst customer. I prefer a more yellow based foundation to give me warmth because I am as pale as. So testing out the different shades will let you see what I mean by pink or yellow based. Try them in areas that have no interference to your natural colour such as in the inner arm and under the ear on your neck.

I always hope my blogs help in making your shopping trips less traumatic! And I’m always open to hearing suggestions if there are particular things you want to know. As always give the Facebook (StephMArtistry) I didn’t realise how tantalisingly close I am to 800 linkers which is beyond awesome! You can also follow @stephmartistry on twitter an Instagram for somemore rambling, BTS, selfies and all around MUA banter.

Until next time ciao! x

Courage and contouring…

Hello hello!

I hope you are all well, things still remain busy busy at StephM.Artistry (not that I’m complaining😊) but this weekend took a bit of an emotional turn for me and so before we get to the fun stuff I wanted to share with you all 6 amazing women I had the pleasure of spending yesterday with.

20140331-190744.jpg

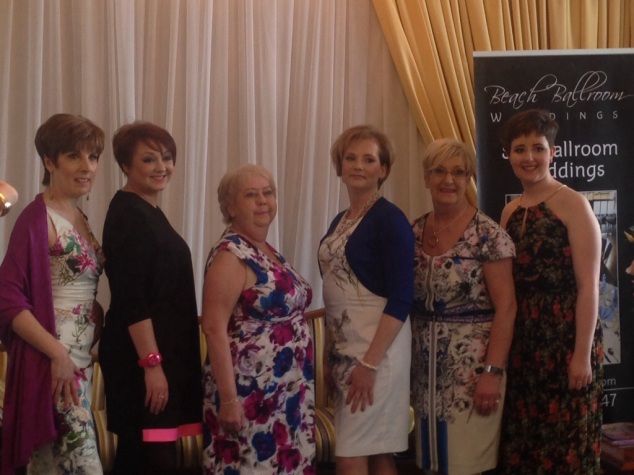
From left to right let me introduce you to Janet, Gill, Tina, Lisa, Sandra and Katy… 6 of the most incredible women I have had the pleasure working with. Yesterday I volunteered, helping backstage, for Friends of Anchor at their Courage on the Catwalk. These women are recovering cancer patients and to mention a few of their stories will show you just how brave they are. Sandra has had 3 cancer diagnoses. Gill, her mum and dad were all diagnosed within 6 months of each other. Katy is celebrating her 19th birthday this Friday after being diagnosed last year. I know… Friends of Anchor is such a good cause raising over £60,000 yesterday. This goes towards researching cancer treatments and even simple things such as tea and cake to make these women smile while they receive their treatments. Yesterday was the most fun. I spent the day laughing, cuddling and sobbing… And maybe a little bit of make up-ing…

20140331-191956.jpg

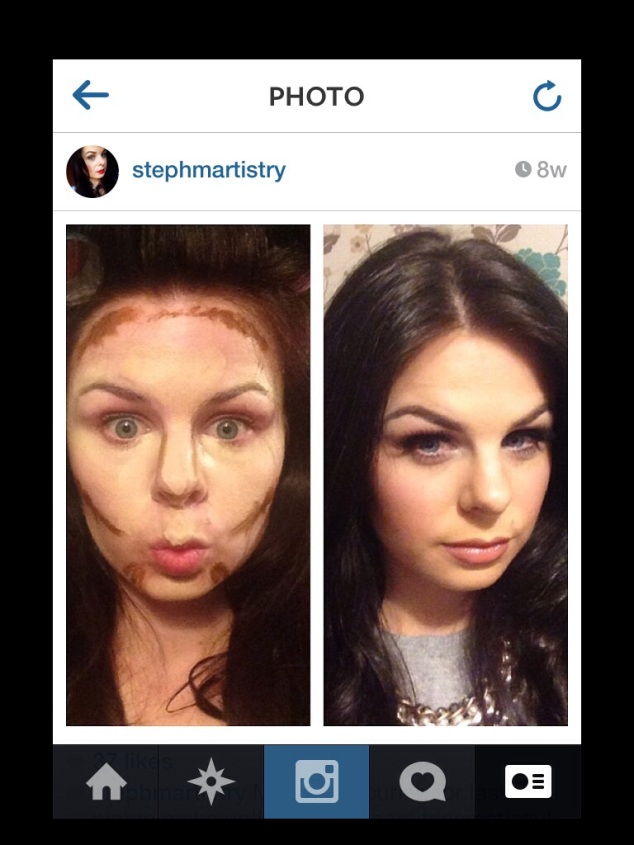
Right, now you’re all crying along with me! I wanted to go a little bit more into depth regarding a wee contouring video I did recently. For those of you who do not follow me on Facebook or Instagram where the video was featured see links below;

https://www.facebook.com/pages/StephMArtistry/175542622557392?ref=tn_tnmn

@stephmartistry on Instagram

Contouring is really popular right now (hey, who doesn’t want amazing cheekbones??) and that video shows my favourite way of contouring.

Step 1 I apply my regular foundation, just a small amount to act as a base. Right now I’m using YSL le teint touché éclat and I am loving it
Step 2 is my under eye concealer, I use MAC Prolongwear in NC15 it’s a shade/2 shades lighter than my skin so it brightens and this stuff totally sticks under the eye it’s the shiz…
Step 3 I like using the MAC prep and prime in light boost to highlight all the high points on my face… Generally the cheekbones, over my brow bones, over my t-zone, Cupid’s bow, chin and jaw line.
Step 4 I add a foundation that is two shades darker than my skin and this goes where I want natural shadow, so along my hair line, under my cheek bones and bottom lip.
Step 5…. I blend like a mo fo!! (Real techniques expert brush is great)

At this point, as all products I have used have been cream/liquid based, it makes everything much easier to blend making it look really natural. These next steps are for those that are a bit more like me.. All the make up… All the time!

Step 6… I use a powder bronzer on a smaller powder brush and really carve the cheekbones to add more sculpting.
Step 7 and I use the Nars albatross highlighter to go over all the high points.

I add my regular blusher and powder (Dainty by MAC and Ben Nye loose in cameo) and hey presto… Cheek bones ahoy!

You can change the effect using these steps too. Depending on how dramatic you want the contour to be can depend on how dark and light you go with your light and shadow colours(see below). But using creams to contour makes it so much easier.

20140331-195900.jpg

I hope this helps, I always love sharing these little tit bits with you so if there is anything you would like to particularly see just holla! I’m working on a brow one as I know this is something one or two of you are interested in 😉

Until next time! 💜